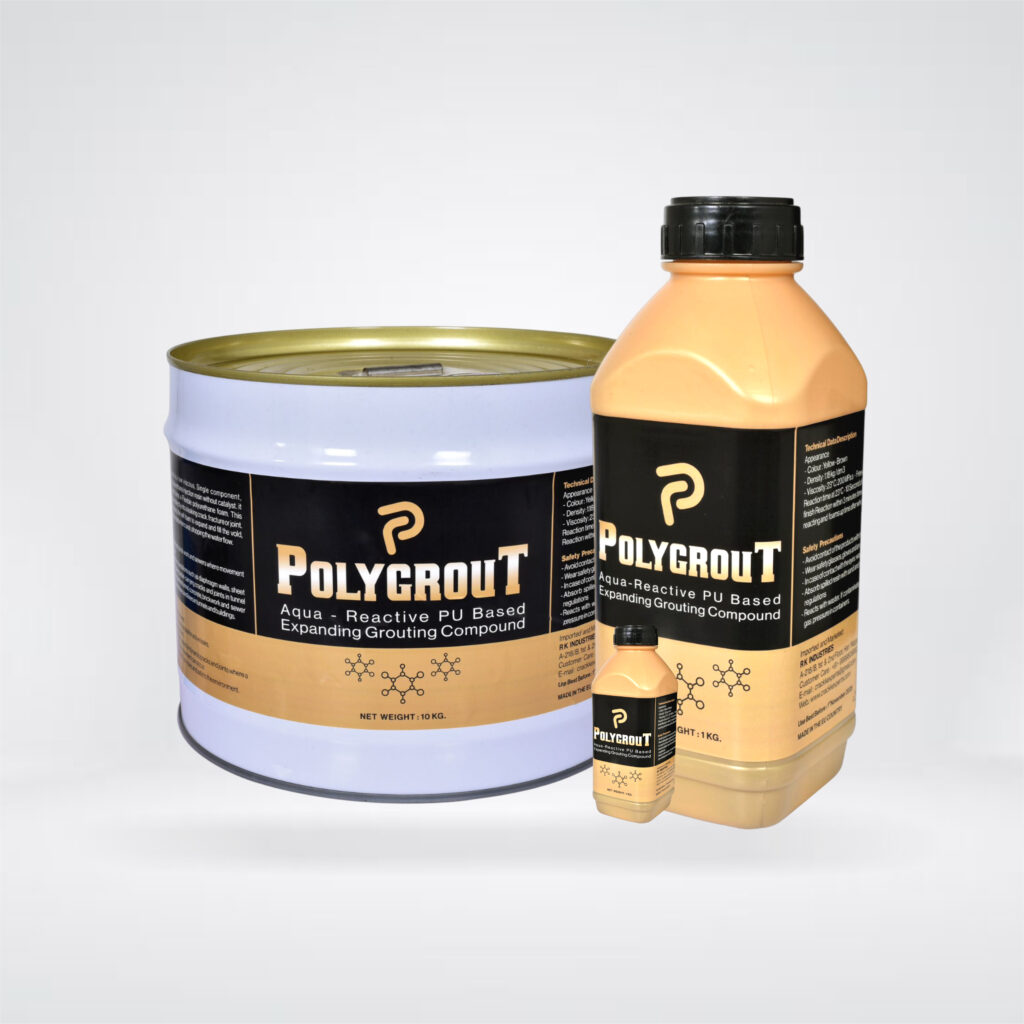
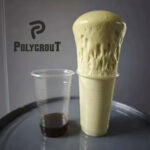
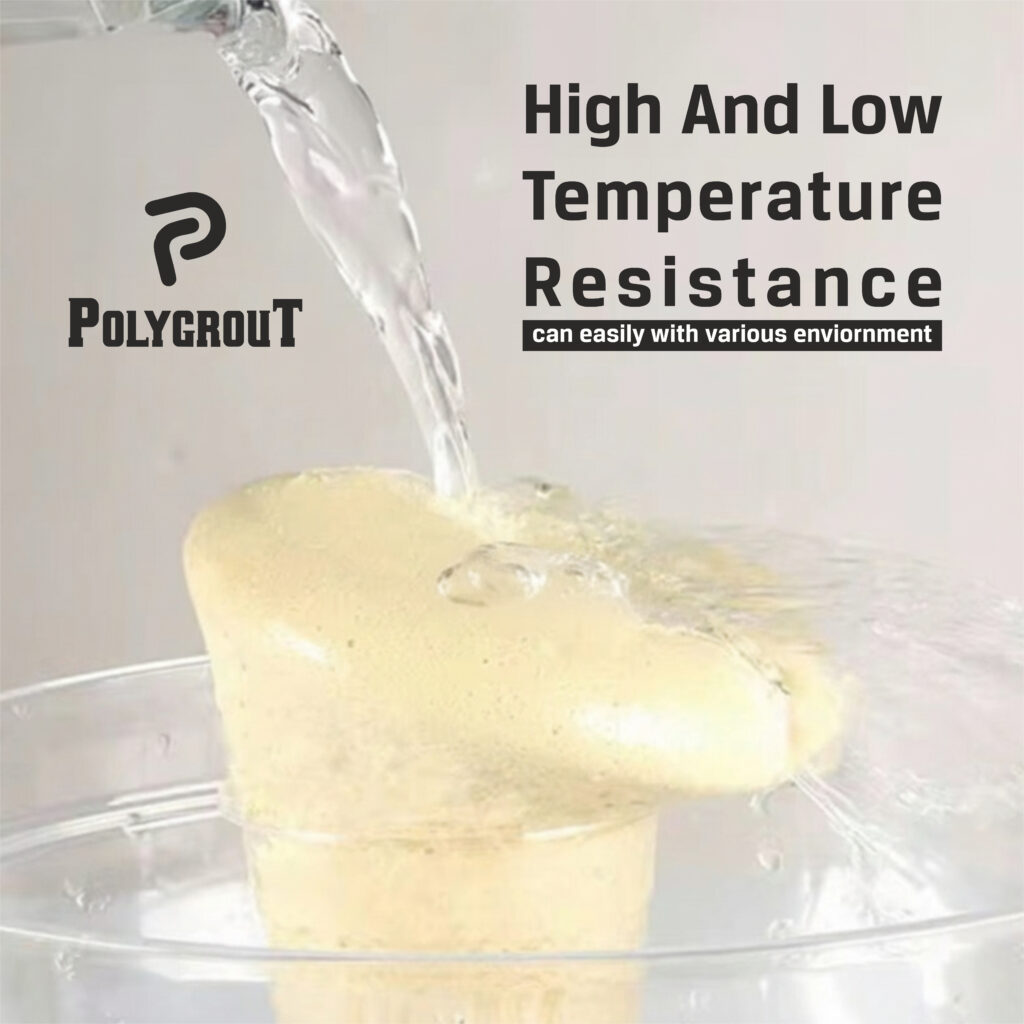

CrackExperts Polygrout is a hydrophobic grout based on polyurethane. Upon contact with water, it reacts to a closed-cell, semi-rigid foam while expanding its volume up to 3000%.
The cured material maintains a constant volume and is not affected by water or dryness, ensuring the reacted material does not shrink or swell.
Technical Properties
| Property | Value |
|---|---|
| Form | Liquid Type |
| Color | Dark Brown |
| Solubility in Water | Hydrophobic |
| Density | 1.18 g/ml |
| Viscosity | 100-200 |
| Max. Expansion (25°C) | 2,700% (Ratio 10:1 Resin: Water) |
| Induction Time (25°C) | 15 sec (Ratio 2:1 Resin: Water) |
| Gel Time (25°C) | 110 sec (Ratio 2:1 Resin: Water) |
| Tensile Shear Strength (23°C) | 4 N/mm² |
| Appearance | Light Yellow Polyurethane Foam |
| Corrosiveness | Non-Corrosive |
| Chemical Resistance | Resistant to most organic Solvent, Mild Acids, Alkali |
Features / Advantages
- Negative side application possible
- Deep penetration into very small cracks
- Foam increases in volume to fill cavities and voids
- Excellent bond to surfaces
- Good adhesive strength, tolerant of movement
- Inert after curing, constant volume, no shrinkage
- Does not create new cracks
Areas of Application
- Defective concrete (cracked or honeycombed)
- Concrete joints, Limestone, Brick construction
- Pipe intrusions, Waste water tanks
- Tunnels, Dams, Subway (Metro), Sewers, Manholes, Utility boxes, etc.
- Soil stabilization
Application Process
- Check Crack Area: Check crack area and clean up the surface with a wire brush or grinder.
- Drill Holes: Drill holes near cracks using a hammer drill, with a 45° angle from the surface, to prevent packers from penetrating through a crack.
- Position IT ZIGZAG & Distance: Hole positions must be zigzag, with a separation gap of 15-20 cm from each other.
- Keep 15-20cm Distance : Make a hole as per the image 2 & 3 each separated by gap 15-20 from each othercm
- Insert Packers: Insert packers into the drilled holes and fasten them tightly using a T-wrench.
- PU Injection (Polygrout) Prep: Pour the PU Injection (Polygrout) into the plastic bottle.
- Connect the Coupler: Connect the grease coupler with the installed packer. Inject first at the low area, and then move to the upper area (down to up).
- Inject PU Resin: Push the switch for the running machine and inject PU resin into a hole. Start with low pressure and increase. When PU resin flows out from the cracks, stop injection, move to another packer, and start injection again.
- Remove Packers: After finishing injection, remove packers by hitting them with a hammer. Clean the surface using a scraper or a grinder, and if needed, coat with sealing materials. Damaged areas can be sealed with polymer modified mortar.
- Clean the Machine: Clean the machine properly using xylene thinner. Pour the Xylene thinner in the jar of the grouting machine and follow the cleaning procedure.
Shelf Life
- 1 Year in tightly sealed container.
- Stored at a temperature of 0 to $30^{\circ}C$ from date of import.
- Up to 3 months for reuse on opening the seal, provided the material is kept in a closed container free from moisture.
Watch the Application Video
-

-
-
CRACKFIX PU 35
Read moreCrackFix PU 35 is a high-strength, fast-cure polyurethane sealant designed for high-requirement bonding and sealing applications. It offers excellent wear and weather resistance and maintains performance across a wide range of temperatures.
-
UV SHIELD PRO
Read moreThis list outlines various product categories focused on sustainability, non-toxicity, and improved indoor air quality, providing healthier alternatives to conventional consumer and building materials.